Because I said so, that’s why.
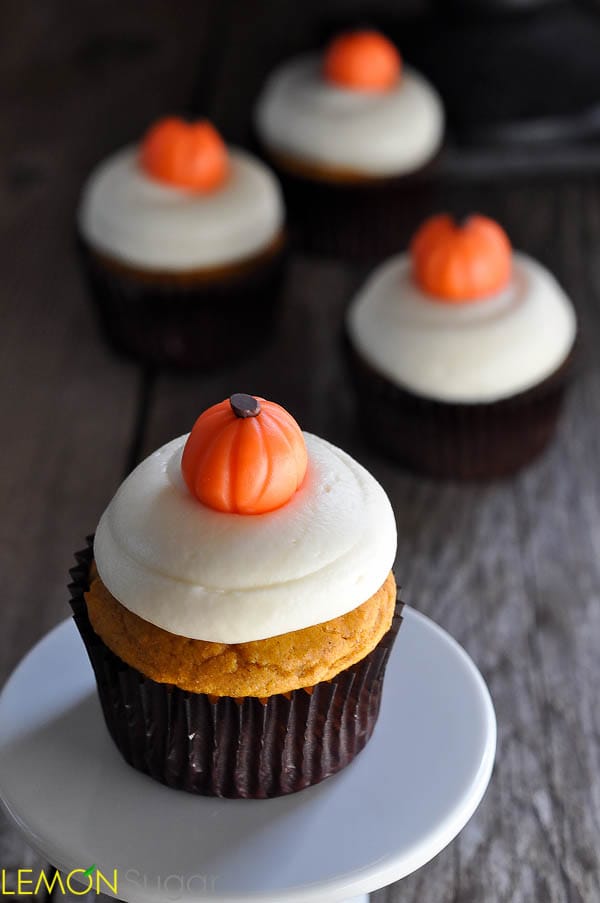
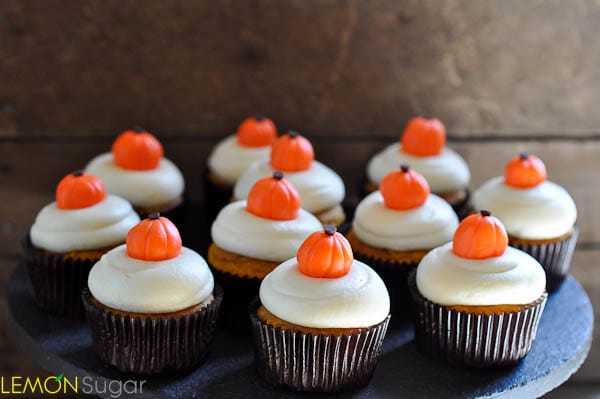
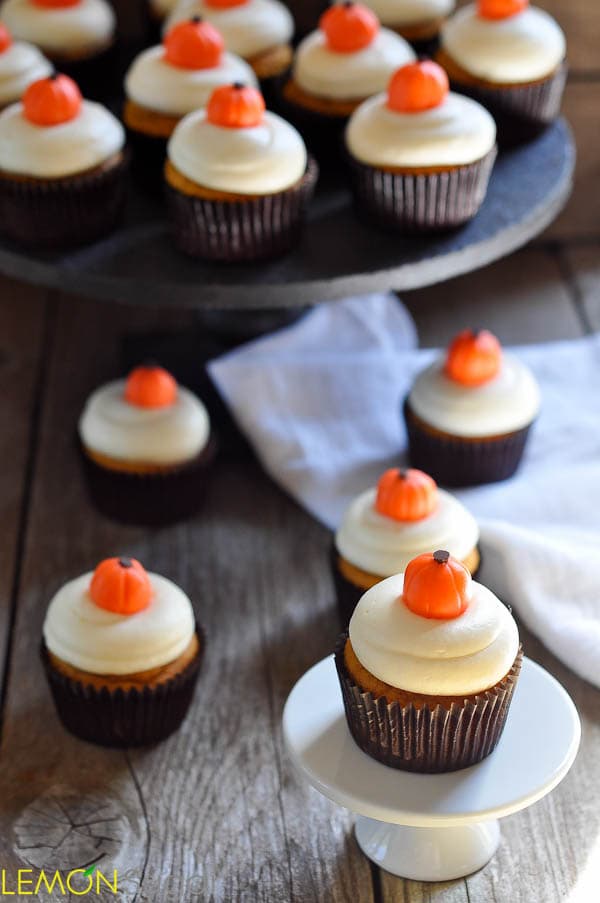
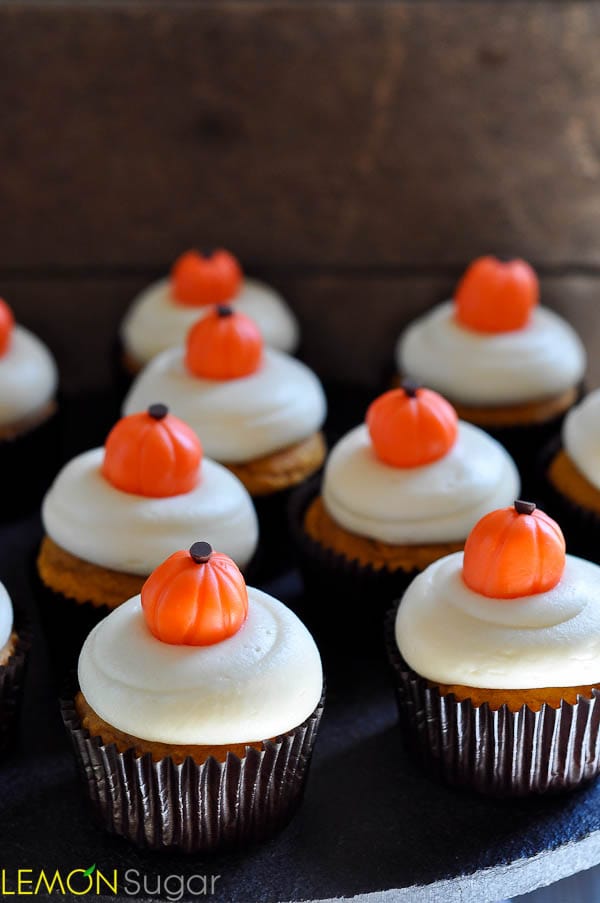
That’s why I made pumpkin cupcakes, with cream cheese frosting and handmade candy pumpkins on top.
Because I said so. That’s why.
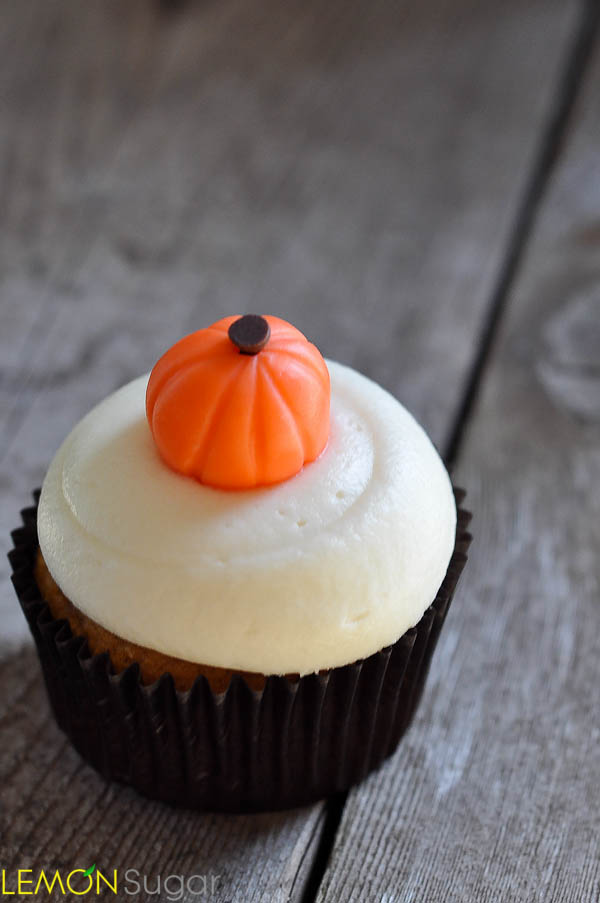
Why else would you hand roll 24 little pumpkins out of molding chocolate, add texture with a toothpick and stuff the tip of a mini chocolate chip into a tiny hole on top of said pumpkins?
Why else would you make an extra trip to the baking supply store for orange food coloring because what you had in your pantry was too “peachy” and not “pumpkiny” enough?
Because I said so.
I don’t know where these compulsions come from. In fact, I have three other recipes that are all ready to go, ready to share with you all. In the can, so to speak.
But no.
The voices in my head wouldn’t let this one be. So, they happened. Little candy pumpkins and all.
Now, to be fair I’ve wanted to make these cute little pumpkins for quite a while, really since my Caramel Apple Cupcakes were born last fall. Since I discovered modeling chocolate earlier this year, I’ve just been waiting for fall to roll around so I had a reason to make them. Aren’t they adorable? And they’re so easy, too.
So, let’s talk modeling chocolate for a minute, shall we? I’m kind of in love with the stuff. I am not a fan of fondant or gum paste, because really what’s the point in covering your delicious cakes with something that tastes that bad? I have always avoided fondant like the plague, and now that modeling chocolate is in my life, I don’t ever have to feel like I’m missing out on the fondant craze.
Modeling chocolate is essentially melted chocolate (or candy melts) that are seized into a clay-like texture with corn syrup. It has the consistency of play-dough, and can be stored at room temperature for several weeks. I like to make a batch of white and a batch of chocolate, because the white can be colored with food coloring to be any color you like. One bag of candy melts makes about a cup and a half of modeling chocolate, so if you have a big project, you might want to double the recipe.
You can roll it out to cut shapes, you can make chocolate flowers, bows, chevron stripes, polka dots, even figurines for any possible cake design you can dream up. If you are interested in learning more, I would suggest taking this online Craftsy class by Jessi from JessiCakes. It’s a fun class for anyone interested in cake design, or even just learning a bit more about modeling chocolate.
If you love pumpkin cupcakes, these are a must-make for you because they’re the perfect blend of softness, spiciness and tenderness that you want in a pumpkin cake. This is my favorite cream cheese frosting, and it’s very simple to make. Equal amounts of cream cheese and butter, blended with heavy cream, vanilla and sugar; it turns out light and fluffy every time. Some cream cheese frostings are too sweet, some aren’t sweet enough, but this is just perfect. And atop these perfectly pumpkin cupcakes, it’s even better than straight out of the bowl with a spoon.
Although, straight out of the bowl works, too. Not that I’d know.
I really love how these came out, they’d be so adorable in any fall tablescape, and work equally well for Halloween and Thanksgiving. Even if you skip the handmade candies, you can replace them with the store-bought version and no one will think twice. But do try the modeling chocolate sometime, it’s fun and much better than that fondant stuff.
Just do it.
Because I said so. Ha!
Don’t forget, if you haven’t yet, make sure you stop by my Facebook page and follow along – you can also find me on Twitter, Instagram and Pinterest!
Thanks for stopping by today! Leave me a comment below so I know you were here!
♥erin
- 2 cups all-purpose flour
- 1 teaspoon baking soda
- 1 teaspoon baking powder
- 1 teaspoon coarse salt
- 1 teaspoon ground cinnamon
- 1 teaspoon ground ginger
- ¼ teaspoon freshly grated nutmeg
- ¼ teaspoon ground allspice
- 1 cup packed light-brown sugar
- 1 cup granulated sugar
- 1 cup (2 sticks) unsalted butter, melted and cooled
- 4 large eggs, lightly beaten
- 1 can (15 ounces) pumpkin puree
- 1 cup (2 sticks) unsalted butter, at room temperature
- 8 ounces (1 box) cream cheese, at room temperature
- 6-7 cups (slightly less than one 2lb bag) powdered/confectioners sugar
- ¼ cup heavy cream
- 1 teaspoon vanilla extract
- 14 ounces white chocolate candy melts
- 3 ounces (by weight) light corn syrup
- Orange gel or paste food coloring (not liquid)
- Mini chocolate chips
- Preheat oven to 350 degrees (F).
- Line cupcake pans with paper liners; set aside.
- In a medium bowl, whisk together flour, baking soda, baking powder, salt, cinnamon, ginger, nutmeg, and allspice; set aside.
- In a large bowl, whisk together, brown sugar, granulated sugar, butter, and eggs.
- Add dry ingredients, and whisk until smooth. Whisk in pumpkin puree.
- Divide batter evenly among liners, filling each about halfway.
- Bake until tops spring back when touched, and a cake tester inserted in the center comes out clean, 20 to 25 minutes, rotating pans once if needed.
- Transfer to a wire rack; let cool completely before frosting.
- Beat together softened butter and cream cheese until completely combined, lump free and smooth.
- Add confectioners sugar, cream and vanilla. Beat on low until just incorporated.
- Increase speed and beat until light and fluffy.
- Frost cupcakes as desired.
- Weigh corn syrup, and slightly warm it up in the microwave for about 10 seconds.
- Weigh candy, and add to another glass bowl.
- Microwave candy in 30 second increments, stirring each time, until completely melted. Stir with a plastic spatula, only.
- Add the corn syrup.
- Using the plastic spatula, fold and combine the syrup into the candy until syrup is just incorporated. Do not overmix.
- Pour the seized chocolate on to a large sheet of plastic wrap, and press it into a ¼" thick disc.
- Cover the top with plastic wrap, and allow to sit until very firm, at least 1 hour but up to 8-12 hours.
- Once the candy has set, use your hands to knead it until it's soft and pliable. This could take several minutes, so be patient.
- At this point, you may place the candy in an airtight container (like a plastic baggie) and store it until you need it. I've stored mine up to 3 months before using it!
- To color the candy, add a few drops of food coloring at a time and knead until color is completely incorporated. I would suggest using food-safe plastic gloves for this step.
- Once desired color is achieved, roll ½ inch pieces of candy into round balls, and set on a parchment-lined cookie sheet to harden for a few minutes.
- Use a toothpick to create a small circle on top of the pumpkin, big enough for the tip of a mini chocolate chip to fit snugly.
- Carefully use the length of the toothpick to "roll" down the sides of each ball to create indention lines.
- Again, allow pumpkins to sit at room temperature to harden slightly.
- Place an upside down mini chocolate chip in the hole at the top of each pumpkin.
- Place atop cupcake frosting, and enjoy!

Adorable!!! Teach me, Obi-Wan!! 🙂