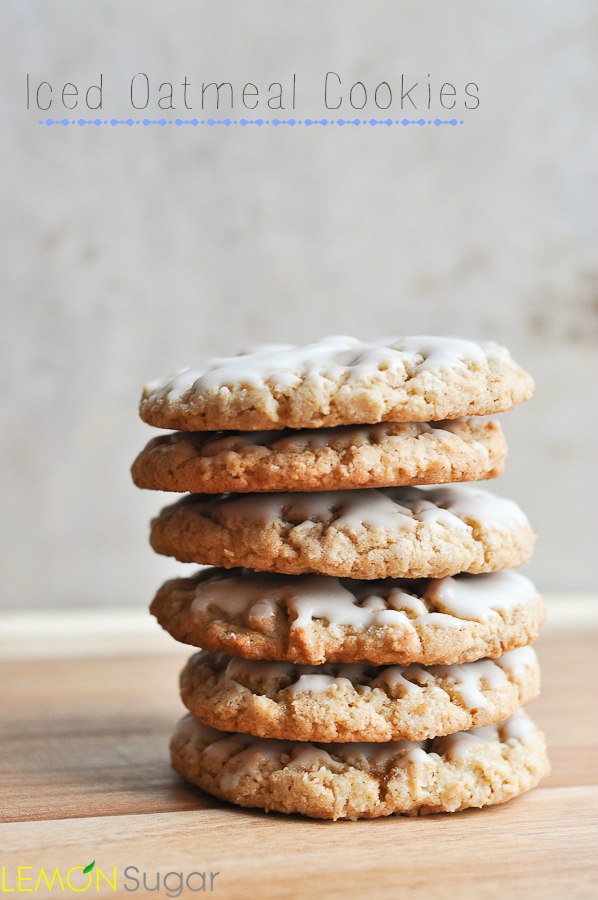
In my mind, there are only three excuses for a crispy cookie: gingersnaps, Oreos, and a few that you can buy from the Girl Scouts.
That’s it.
Otherwise, cookies should be chewy. It should be a law.
Oh, I guess biscotti is ok too – but I don’t really consider that a cookie, (even though it totally is a cookie) so I’m not going to count it. But even so, out of all of the millions of cookies out there, only four should be crispy.
I love the idea of those little iced oatmeal cookies at the grocery store – you know, they usually come in a bag…or sometimes they come in those trays for like, $1. For some reason, they always look SO appealing to me.
But then you give in and buy them and you about chip your tooth because they’re so dang hard and crispy. That is NO BUENO.
So last month, when I saw this amazing recipe from Mother Thyme come across my reader, I knew that they were happening, ASAP. And they did. And they’re fantastic. No tooth-chippers here.
I used to get really frustrated with cookies, so I stopped making them for years. But then, I read an article in a cooking magazine that changed it all for me. There are a few tips for great cookies that you need to know.
First, use parchment paper. Next time you’re at Target or Wal-Mart, buy a roll and just keep it for a rainy, cooking-making day. Parchment paper does two things – it obviously prevents sticking, but it also helps prevent cookies from spreading too fast. I like to lightly spray my pan with cooking spray, which gives the parchment something to stick to, and then very lightly spritz the parchment with spray, too.
Secondly, don’t let your butter get too warm. I like to let my butter rest on the counter top for just 20 minutes before I start. The butter should still be pretty chilled, but just slightly soft. Like parchment paper, this tip also helps prevent too-thin, greasy cookies. Along the same lines, I like to keep my unused cookie batter in the refrigerator between batches. When it comes to cookies, chilled batter just bakes better.
Also, be sure that you have fresh baking powder and baking soda. These ingredients give your cookies a boost and help them rise, and they just don’t work very well when they’re old. Replace them every three months or so. Even with as much baking as I do, I still buy the small boxes of baking soda so I don’t feel bad if I don’t use the whole box. (Or, you could use your leftover baking soda to make some homemade soft pretzels!)
All ovens are different, so be sure you know where your “sweet spot” is in YOUR oven. Mine is in the upper 1/3 of my oven. If you find that your cookies are getting too done on the bottom, raise your rack, or even try doubling up your cookie sheets. I like to use aluminum cookie sheets (link here) because the dark coated pans usually cause over-browning for me, especially for things like cookies.
Don’t over-beat your batter once your dry ingredients have been added. Just mix until the flour is incorporated and then stop. JUST STOP. Over beating makes your cookies tough and dry. And crispy. Crispy = bad.
Take your cookies out of the oven just before they look done. Once the edges start to turn a light golden brown, they can come out. Let them sit outside of the oven on the cookie sheet for 2-5 minutes, then carefully move them to a wire rack.
I like to keep two cookie sheets in rotation. You should never scoop cookie dough on to a warm cookie sheet, so once a batch comes out of the oven, I like to have another ready to go while my just-baked batch is cooling. By the time your next batch is done, your other pan should be cool. Putting cookie dough on a hot, just out of the oven pan will begin the cooking process before you put them in the oven. The result will be thin, greasy cookies.
Finally, invest in a cookie scoop. Just do it. (link here) Your cookies will be all the same size and perfectly round.
It sounds like a lot, but once you master those few “rules” of cooking making, I promise you’ll have more success! And, what better recipe to test your new skills than this one? This cookie is everything you want those grocery store oatmeal cookies to be, and more.
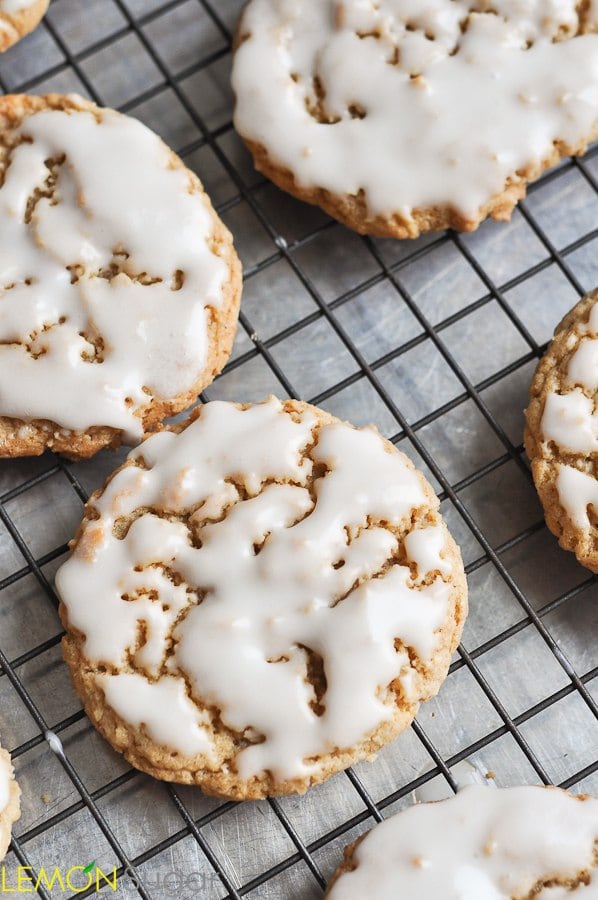
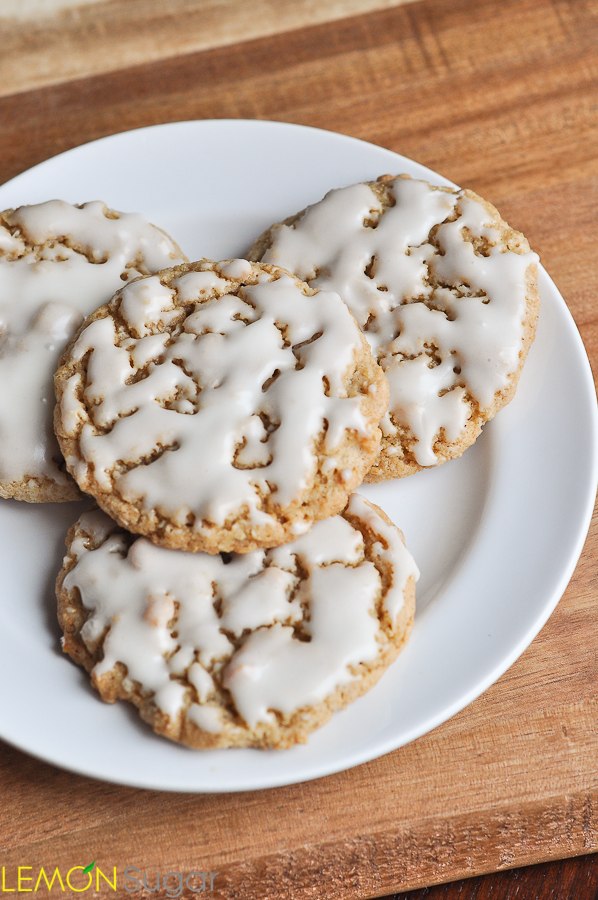
They’re soft, they’re chewy, and they’re full of brown sugar and oatmeal, which helps the chewiness factor. The warm spicy flavors from cinnamon and nutmeg do magic things when you combine them with the creamy glaze.
So, so good. Keep them in an airtight container and you’ll have a ton of chewy cookies at your beck and call, whenever you need them.
Enjoy!
Don’t forget, if you haven’t yet, make sure you stop by my Facebook page and follow along – you can also find me on Twitter, Instagram and Pinterest!
Thanks for stopping by today!
♥erin
- 2 cups old-fashioned, rolled oats
- 2 cups all-purpose flour
- 1 Tablespoon baking powder
- ½ teaspoon baking soda
- ½ teaspoon salt
- 2 teaspoons cinnamon
- ¼ teaspoon nutmeg
- 1 cup (2 sticks) unsalted butter, softened but cool
- 1 cup light brown sugar
- ½ cup granulated sugar
- 1 teaspoon vanilla extract
- 2 eggs
- 2 cups confectioners sugar
- ¼ cup heavy cream (or milk)
- Preheat oven to 350 degrees (F).
- Prepare a large baking sheet with parchment paper, and set aside.
- In a food processor, pulse oats until coarse, but not powder.
- Combine oats, flour, baking soda, baking powder, salt and nutmeg in a medium bowl. Set aside.
- In a large bowl, cream together butter and both sugars.
- Add eggs, one at a time, beating well after each addition.
- Add vanilla, beat to combine.
- Add flour in three additions, beating each addition until just combined.
- Use a small cookie scoop (or a tablespoon) to form 1.5 inch balls of dough.
- Place dough on cookie sheet, about 2 inches apart.
- Bake for 10-12 minutes or until cookies are just starting to turn golden brown around the edges.
- Allow to sit on cookie sheet for a couple of minutes, then transfer to a wire rack to cool completely.
- Repeat with remaining dough, but be sure to use a cool cookie sheet for each new batch. I rotate two cookie sheets, giving one time to cool between batches.
- While cookies are cooling, prepare glaze.
- Whisk together confectioners sugar and heavy cream.
- Add more cream if needed to reach a thick but runny consistency.
- Dip the top of each cookie quickly into the glaze, then place it back on the wire rack to drip dry and allow the glaze to harden.
- Enjoy!


What scrumptious cookies and the tips are spot on! I especially like the info on butter, as “room temperature” or “softened” can mean so many different temperatures.
These are such great tips! I’ll have to remember them for next time I bake cookies!
Definitely trying this recipe. I love Oatmeal cookies, but they have to be chewy.