This post has been sponsored by Collective Bias, Inc. and its advertiser. All opinions are mine alone. #ReinventSweet #CollectiveBias
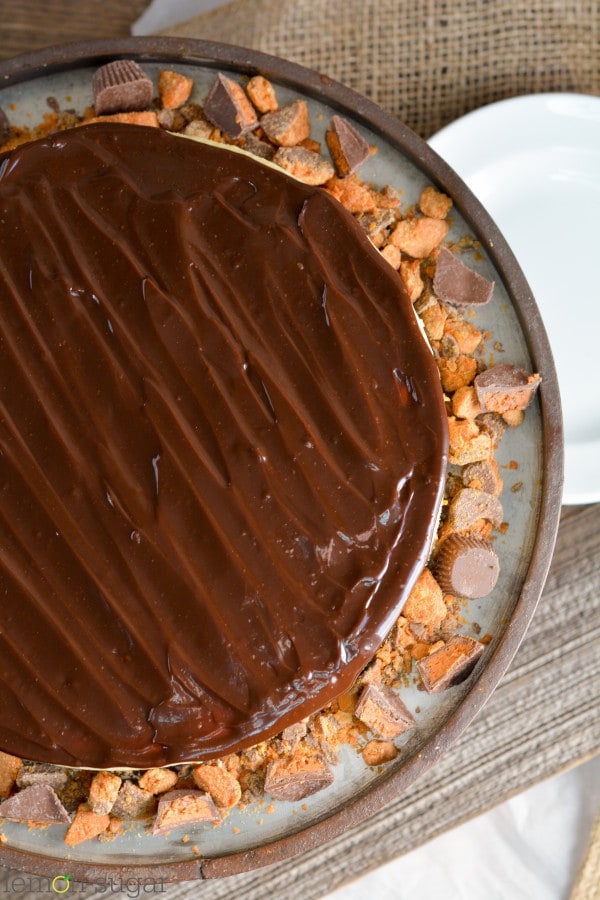
I might be a wee-bit obsessed. With cheesecake, of all things.
Which, actually is a GOOOOOD thing, but really, why can’t I be obsessed with Kale? Or Flax Seed? Or Chickpeas? (I don’t know – those are the first three healthy-like things that popped into my cheesecake-obsessed head.)
This cheesecake, you guys – it’s awesome. It’s easy. It goes together in no time, and you can change it up with your favorite add-ins, toppings, and crust. Today, it happens to be a chocolate cookie crust, chocolate fudge topping, and BUTTERFINGER® mix-ins.
Let’s just pause for a moment and let that sink in.
…
Folks, Halloween is right around the corner. Time to hoard those BUTTERFINGER® bars!
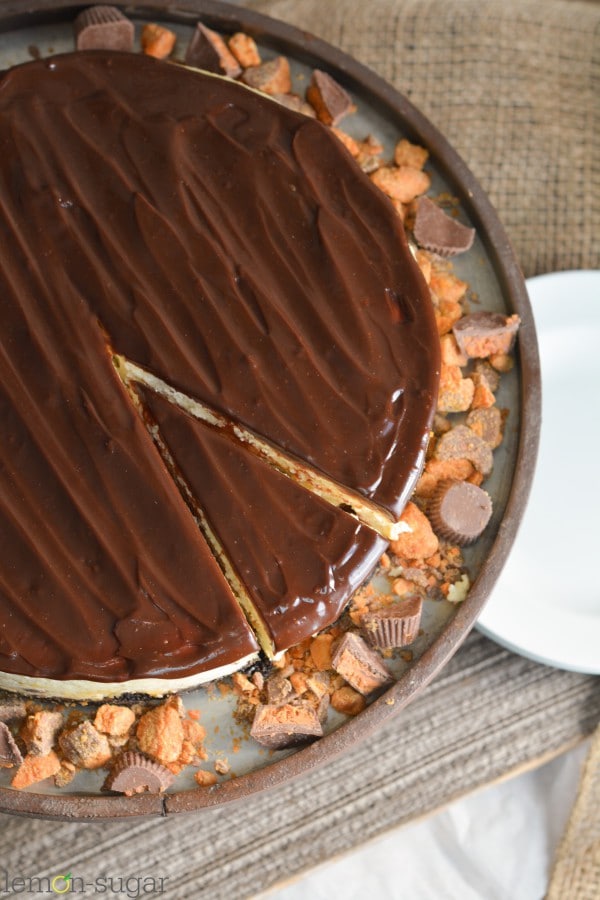
Speaking of Halloween, this recipe is actually just perfect for your spooky festivities. It’s a given that my candy dish is always full of BUTTERFINGER® bars on Halloween, but when your guests see a BUTTERFINGER® cheesecake, you won’t even have to wear a super hero costume. You will instantly be upgraded to super-hero status, no cape required.
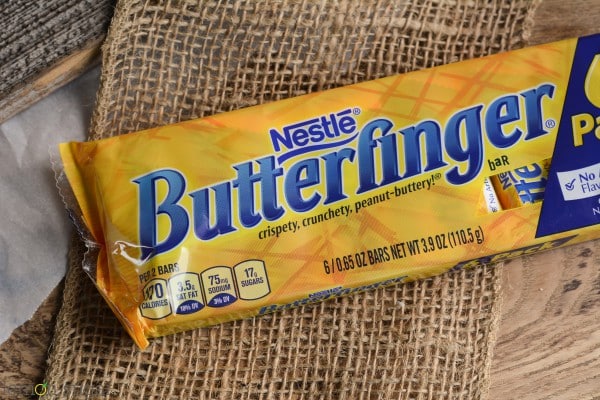
BUTTERFINGER® has a new product – BUTTERFINGER® Peanut Butter Cup Minis – and when I found them at Wal-Mart last week, the wheels were already turning. They’re soft, so I knew they’d be a perfect mix-in for my favorite cheesecake recipe.
I opted for a chocolate cookie crust to balance out the overall flavor, and it’s great. Super-hero great.

When I got home, loaded up with tons of BUTTERFINGER® products, I immediately went to check out their Pinterest page for more ideas, and there are some good ones! In fact, my Butterfinger Poke Cake was right on top!
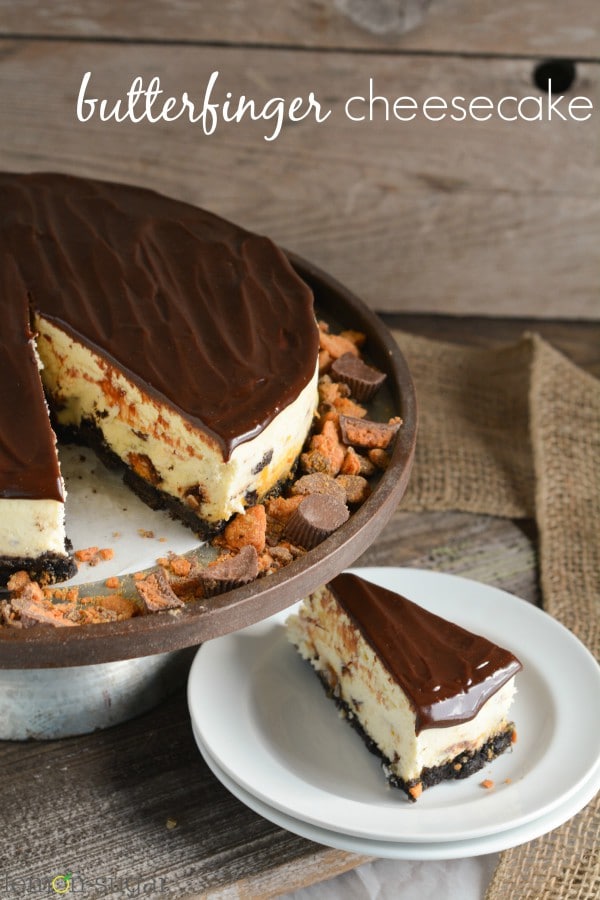
Back to the cheesecake for a moment – don’t forget my cheesecake tips:
First, use a really good quality springform pan. This will help prevent leaks and a soggy crust. Second, don’t overbeat your batter. Too much air in your batter = cracked cheesecake. Drop it on the countertop a few times to pop the bubbles in the batter before you pop it in the oven.
And finally, don’t open your oven door while it’s baking. Let it do its thang, and you’ll be rewarded with a beautiful cake when 90 minutes is up.
Easy as pie. Er, cheesecake. Whatever, you’re a super-hero, so you got this.
Be sure to check out more delicious Butterfinger recipes on the Butterfinger Pinterest page. I’d love to hear about your favorite way to enjoy Butterfingers in a recipe! And, you can earn $1 with Ibotta Offer!
Hope you love this one guys! Back soon with more!
- 24 Chocolate Sandwich Cookies
- ¼ cup unsalted butter, melted
- 4 (8-ounce) packages of cream cheese, softened
- ¾ cup granulated sugar
- 2 Tablespoons corn starch
- 2 eggs at room temperature
- ½ cup sour cream at room temperature
- ¾ cup heavy cream
- 2 teaspoons vanilla extract
- 1 bag (8 ounces) BUTTERFINGER® Peanut Butter Cup Minis
- 10 oz hot fudge topping, warmed
- 5-6 BUTTERFINGER® Fun-Size, roughly chopped
- Preheat oven to 325 degrees (F).
- Prepare a 9-inch spring form pan with cooking spray or butter.
- To prevent water seepage, wrap the spring form pan in heavy-duty aluminum foil. I use two layers of extra-large sheets.
- Place spring form pan into a large roasting pan, and set aside.
- In a food processor, pulse sandwich cookies until finely ground.
- Add melted butter, and pulse until completely combined.
- Pour mixture into the springform pan, and use the bottom of a glass to press the mixture into the bottom of the pan in an even layer - do not come up the sides with this crust. Set aside.
- In the bowl of your stand mixer (or a large bowl with a handheld mixer) beat cream cheese with your paddle attachment until smooth and creamy.
- Add cornstarch, and beat to combine.
- Add sugar, and beat until completely incorporated.
- Add eggs, one at a time, beating completely after each addition.
- Add vanilla, sour cream and whipping cream, and beat until smooth, scraping down sides of bowl at least once.
- Chop the BUTTERFINGER® Peanut Butter Cup Minis and fold gently into the batter.
- Pour batter into the prepared springform pan.
- Drop the filled cheesecake firmly on to your countertop several times to release any air bubbles. Return the springform pan to the roasting pan.
- Place the roasting pan, with wrapped springform pan inside, into preheated oven.
- Fill the roasting pan with water, until halfway up the springform pan. Work quickly, so you don't release too much heat from the oven.
- Bake for 90 minutes. DO NOT open the door during baking.
- Remove cake from roasting pan, and allow to cool for 30 minutes on a wire rack.
- After 30 minutes, run a thin knife around the outside of the crust to release from the sides. This will help prevent cracking.
- Cool for another 30 minutes on a wire rack, then lightly cover and move to the refrigerator.
- Continue to cool for at least 4 hours, but ideally overnight.
- Before serving, top the cheesecake with warmed hot fudge sauce.
- Sprinkle chopped BUTTERFINGER® Fun-Size over the top of the cheesecake, and as a garnish around the outside edge of the cake.
- Enjoy!

Leave a Reply