I am a cookbook junkie. I have them all. Yes – I’m pretty sure that I own every cookbook published after 2009.
…
Ok, this is obviously not true. It’s not possible. But judging by my overflowing bookcases, the baskets on my hearth and the stacks on my coffee table – I’m pretty sure I have most of them. Especially if they have anything to do with baking or desserts or my blogging friends. I might need an intervention.
But see what I’m REALLY trying to do is to convince my husband that I need a photography studio-slash-prop storage-slash cookbook storage room. It would be bright and airy, mostly white and right off my kitchen for easy access. This seems far more logical than a wood shop to store all of HIS stuff in, right? I thought so. You’re my people. You get me.
If he gets a wood shop, that means he’ll just have to fill it up with new, expensive tools. By comparison, food blog props and cookbooks are terribly economical. It just makes good financial sense, really. Right? Yes.
I’m not saying he can’t have his wood shop ever, but c’mon. Priorities.
My point, though, is that one of my newest cookbook acquisitions has proven to be a good one. A reaaaalllly good one. Baked Occasions by Matt Lewis and Renato Poliafito is chock full of fabulous recipes. The sprinkle cake on the front cover drew me in, and I earmarked the first seven recipes – until I realized that clearly I just want to make everything in this book.
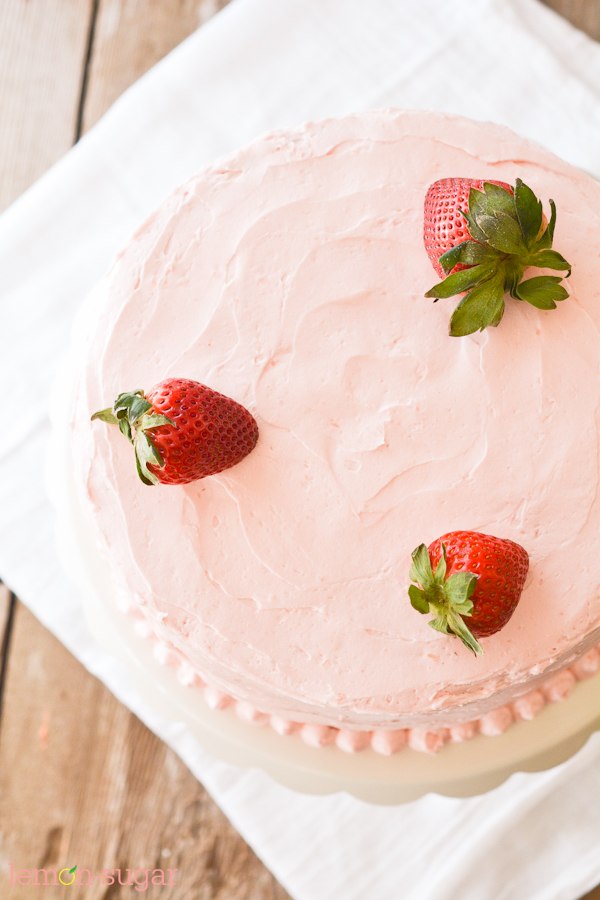
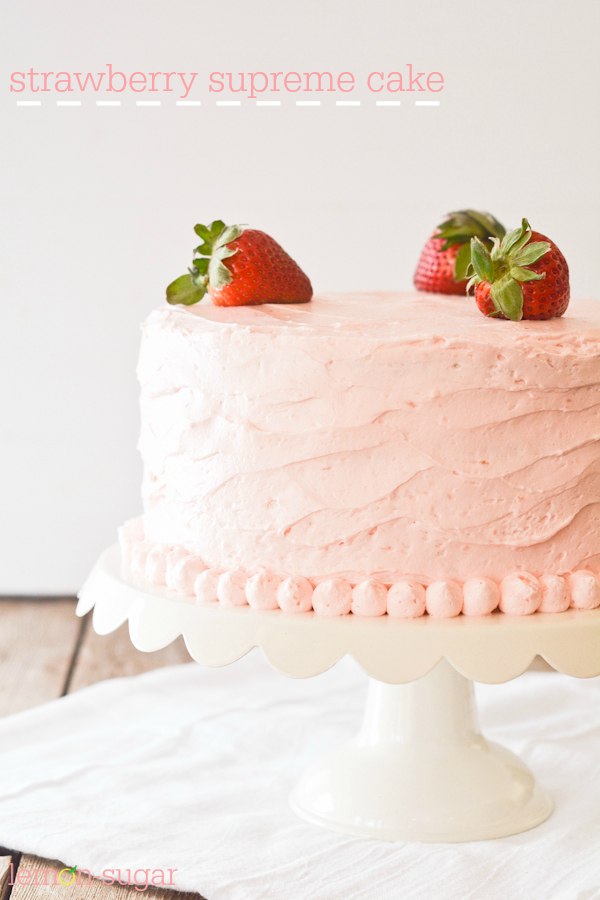
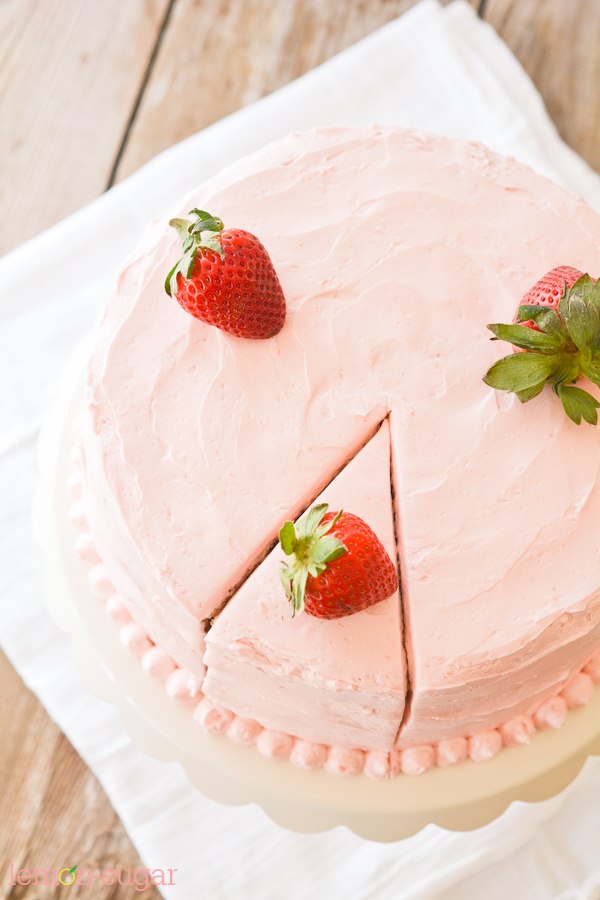
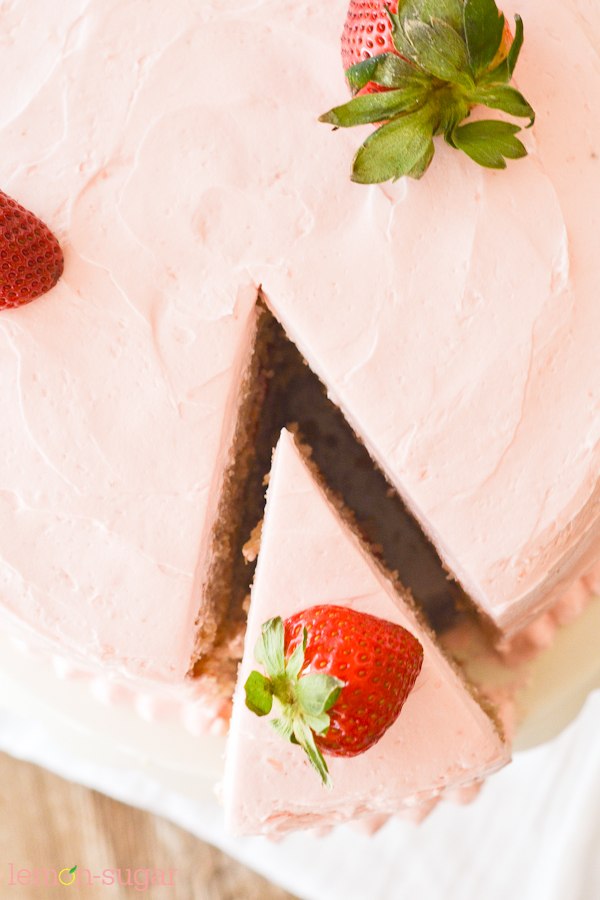
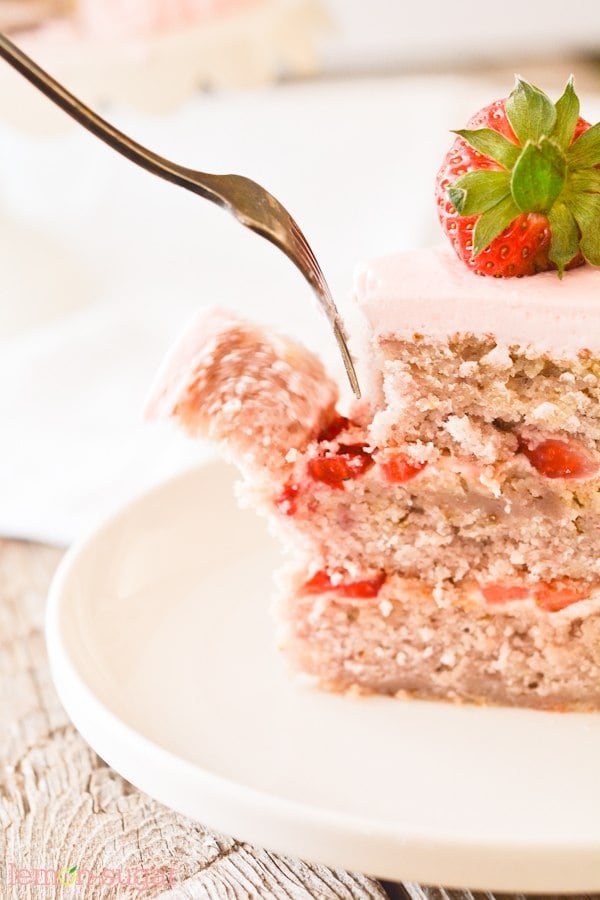
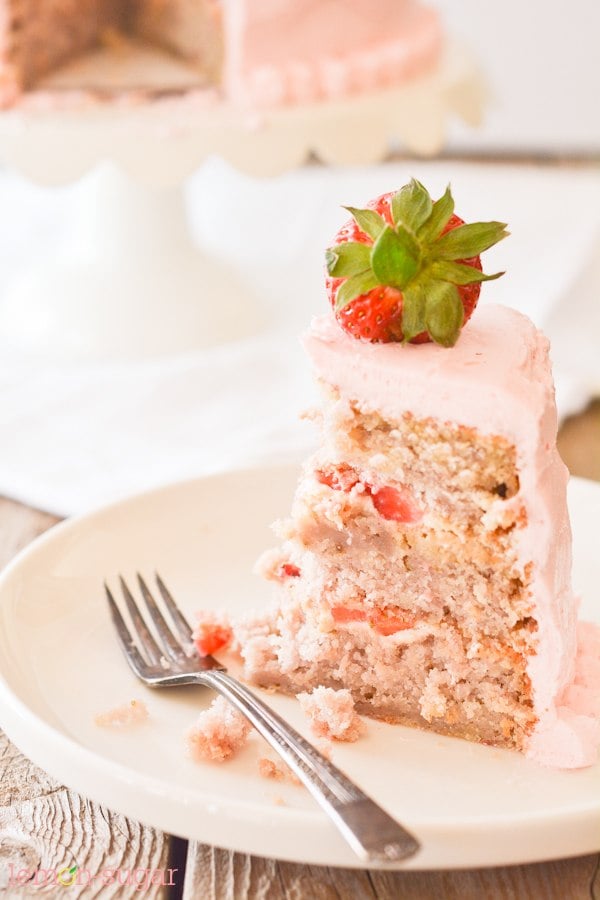
I started with the Strawberry Supreme Cake. Good, good choice. This is a real strawberry cake, not one of those box mix, fake-pink cakes. The cake is light, has the most tender crumb I’ve ever seen, and manages to capture all of the flavors of the best strawberry-shortcake you’ve ever had.
But it’s not shortcake, it’s a cake-cake. Does that even make sense?
The cake is filled with whipped cream and chopped strawberries. The frosting is buttery, flour-based and just sweet enough to work. It’s definitely not a quick and easy cake to whip up in a few minutes, but it’s so worth every second.
I come bearing some tips for you. I REALLY don’t want you to be discouraged by the ingredient list or the lengthy directions – it’s not that bad. I would definitely start by pre-measuring all of your ingredients and getting everything laid out. Prep your pans, puree your strawberries, bring everything to room temp. It really does make everything go much more quickly and will prevent you from getting sidetracked, panicked or off track when you’re putting it all together.
I’m sure I’ve told you before, but my favorite cake pans are 8-inch round by 2-inch deep aluminum pans. They are light colored so they promote more even browning, and they’re deep enough to keep your cake tops nice and flat. You can also buy pre-cut parchment circles that fit right down into your pans to make removal super quick and easy. If you invest in a few tools up front, baking suddenly becomes easier and more fun. It sounds overly simple and obvious, but it’s true!
I hope you love this recipe as much as we did. A little prep work and it won’t be bad at all – and if you’re a cookbook hound like I am, definitely check out the Baked books for some great recipes
Enjoy!
- 8 ounces hulled strawberries
- 2 and ½ cups cake flour
- ¾ cup all-purpose flour
- 1 Tablespoon baking powder
- 1 teaspoon baking soda
- ¾ teaspoon salt
- 1 cup ice water
- ½ cup whole milk
- ½ cup buttermilk, well shaken
- 8 Tablespoons (1 stick) unsalted butter, softened
- ½ cup vegetable shortening at room temperature
- 1 and ¾ cups granulated sugar
- 1 Tablespoon vanilla extract
- 1 large egg plus 3 large egg whites at room temperature
- ¼ teaspoon cream of tartar
- 1 and ½ cups granulated sugar
- ⅓ cup all-purpose flour
- 1 and ½ cups whole milk
- ½ cup heavy cream
- 1 and ½ cups (3 sticks) unsalted butter, softened but still cool
- 1 and ½ teaspoons vanilla extract
- Pink or red food coloring - gel is preferred
- ½ cup heavy cream
- 1 Tablespoon confectioners sugar
- 1 teaspoon vanilla extract
- ¼ cup finely chopped, hulled strawberries
- Whole strawberries
- Preheat oven to 325 degrees (F).
- Prepare three, 8-inch round pans, buttering the bottoms and sides and lining the bottoms with parchment.
- Pulse the strawberries in a food processor until mostly pureed, but with a few remaining larger pieces. Set aside.
- Use a fine-mesh strainer over a large bowl to sift together cake flour, all-purpose flour, baking powder, baking soda and salt. Set aside.
- In a smaller bowl, combine ice water, milk and buttermilk. Set aside.
- In the bowl of your stand mixer, add the butter and shortening. With the paddle attachment, beat on medium speed until creamy. This will take a couple of minutes.
- Add the sugar and vanilla, and beat until light and fluffy, about 3-4 minutes.
- Add the egg, and beat until just combined, scraping the sides of the bowl to ensure everything mixes together.
- With the mixer on low, add half of the flour to the butter mixture. Beat until just combined.
- Slowly add the milk mixture, and again beat until just combined.
- Add the rest of the flour mixture. Beat until just moistened and combined, and scrape the sides of the bowl. Beat one more time to just combine. Turn the mixer off.
- In a large glass or metal bowl, combine egg whites and cream of tartar. Beat the egg whites until stiff peaks form and eggs are glossy. Don't overbeat.
- Remove the mixing bowl from your stand mixer. Using a rubber spatula, fold the egg whites carefully into the batter until no streaks of white remain. Take care not to deflate the whites.
- Fold in the strawberry puree. Don't over mix, your batter will be streaked and pale pink.
- Evenly divide the batter among the three prepared cake pans.
- Bake for 40-45 minutes or until a cake tester comes out clean. Cool the cakes in their pans on a wire rack for about 15 minutes.
- Run a thin knife around the edge of the pan to release the cake, then invert them to remove them from the pan and allow them to cool completely before frosting.
- In a heavy-bottomed, medium sized saucepan, whisk together flour and sugar.
- Add milk and cream, and whisk until smooth.
- Cook over medium heat, stirring occasionally until the mixture comes to a boil and thickens.
- Pour the mixture into the bowl of your stand mixer. Beat on high speed until cool, about 10 or 15 minutes. If the mixture is warm, it will melt the butter and your frosting won't work!
- Meanwhile, cut your butter into pieces. (I cut each stick into 12-16 pieces.)
- When the flour mixture is cooled, reduce the seed to low and add the butter pieces one at a time, about 10 seconds between each piece.
- The frosting will thicken as butter is added. Once you have added all of the butter, continue to beat until the frosting is light and fluffy.
- Add the vanilla and beat until just combined.
- Add a drop of pink or red frosting - just a little - to achieve a pale pink color.
- If the frosting is too soft, you can place it in the refrigerator to thicken slightly.
- Set aside and prepare the filling.
- Finely chop the strawberries, set aside.
- In a cold glass or metal bowl, beat the heavy cream until thickened to a thick, spreadable consistency.
- Add confectioners sugar and vanilla and beat until combined.
- Place the bottom layer of cake onto a cake board, turntable or serving platter.
- Top with a thin layer of whipped cream.
- Sprinkle half of the chopped strawberries over the top of the cream, taking care to keep them in the center ⅔ of the cake. You don't want strawberries on the outer edge.
- Add the second layer, and repeat the whipped cream/strawberry topping.
- Add the top of the cake, and put cake in the refrigerator to chill for 15 minutes.
- Remove from refrigerator, and spread a very thin layer of frosting over the tops and sides of the cake. This is your crumb coat, and is only used to hold crumbs in place before applying your final layer of frosting.
- Return cake to refrigerator for another 10-15 minutes to set frosting.
- Add the final layer of frosting, smoothing and decorating as you see fit. Using an offset spatula will help.
- Garnish with strawberries. Store cake in refrigerator.
- Remove cake from refrigerator 30 minutes before serving.
- Enjoy!

Absolutely delicious cake! Definitely hard work but totally worth it.
Yay! So glad you liked it!!
I still love to make this cake! Now that I’ve made it a few times it is much easier because I know what to do and when. Pre measuring everything makes it a breeze! Awesome cake 🙂
This sounds awesome! I’d love to make this for my daughter’s first birthday smash cake, cutting small circles out of a 9×13 cake. Do you know if this cake would turn out okay baked in a 9×13 cake pan?
YES! Keep pushing for the all purpose photography room. And then can you come convince my husband that I need one too?! This cake looks AMAZING!