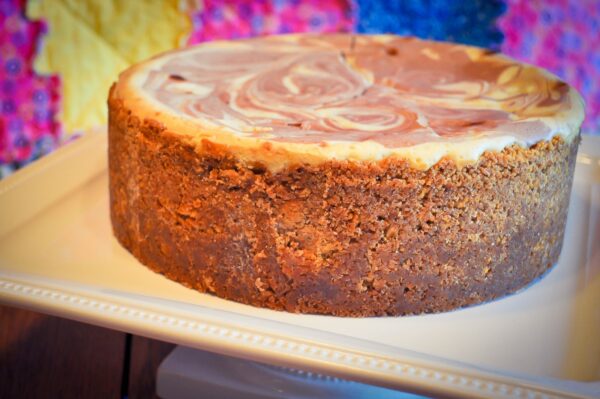
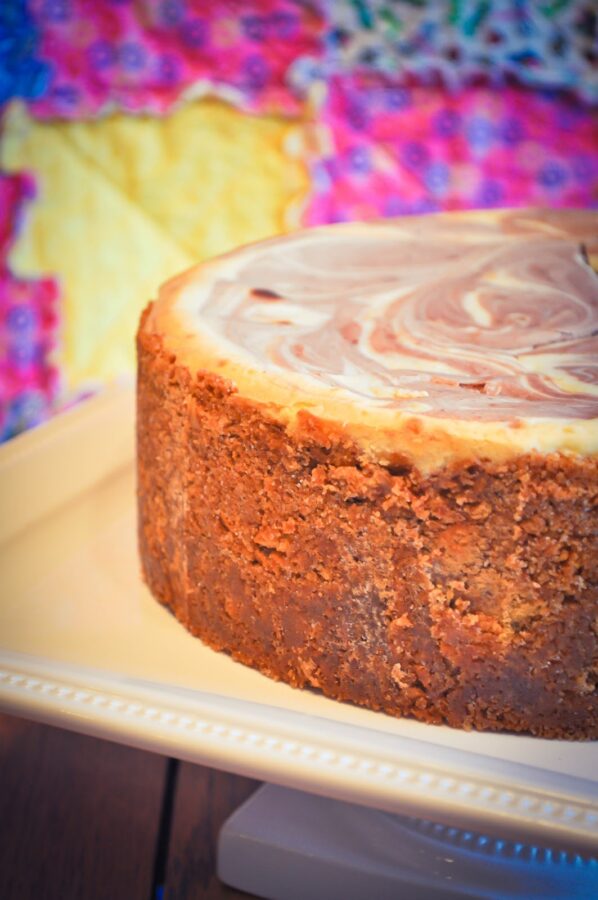
Chocolate Marble Cheesecake
Cheesecake and I have a love-hate relationship. I love to eat it, but hate to make it. I have never, ever had much luck making a successful cheesecake. I’d make one that tasted amazing, but was flat, or cracked, or fell apart. Or, I’d make a pretty one that of course, was bland or the wrong texture. It got so bad that I pretty much gave up on them altogether.
But, you know me. For some reason, I just can’t let things go. My husband loves that about me.
I have pinned just about a thousand cheesecake recipes on Pinterest over the past few months. And because I had 5 boxes of cream cheese in my refrigerator left over from holiday baking (don’t judge me), I decided that I’d go for it. Again.
But this time, it was going to be different. This recipe promised that it was the best cheesecake EVER. It didn’t make a big deal about water baths, wrapping the pan in foil, over or under beating the batter – it just screamed GO FOR IT. So, I did. And it was. Different, that is. This cheesecake is a winner. It was easy, uncomplicated and did exactly what it promised to do – look amazing and taste even better.
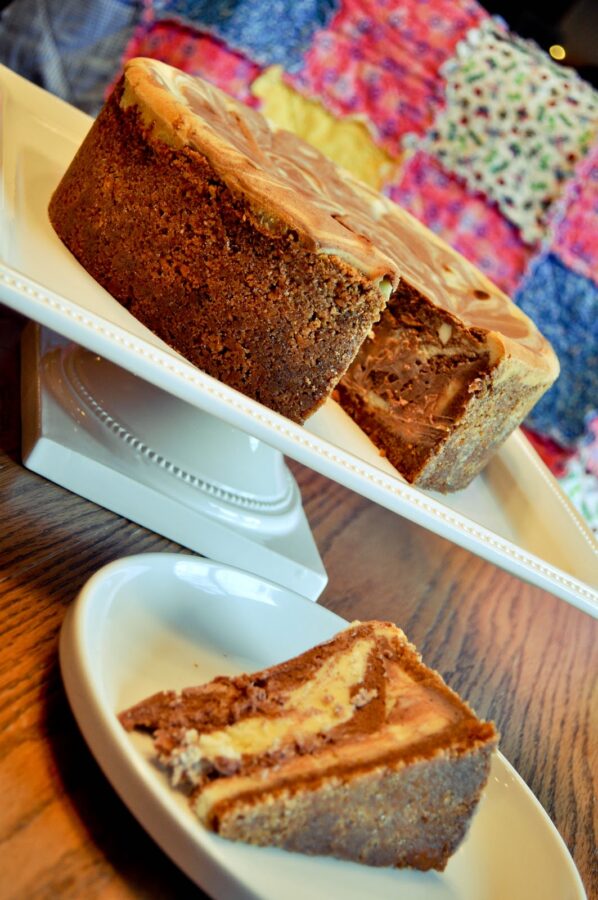
This cheesecake is creamy, slightly tangy and wrapped in a buttery, crumbly crust. I was sure that the chocolate flavor was going to be understated since I only used 4oz of it, but it was just the perfect amount and complimented the contrasting white chocolate layers perfectly. If there was a downside to this cake, it was just the amount of time it took to get from the mixing bowl to my mouth – but while the baking time is long and the chilling time is longer, if you anticipate that in advance this is really the perfect make-ahead dessert.
Go for it! And enjoy!
Chocolate Swirl Cheesecake
Printable Recipe
Yield: 9″ cheesecake, approx 8-10 servings
Prep time: 40min ♦ Cook time: 3hr 15min ♦ Total Time: 4hr 25min
Crust Ingredients:
4 cups graham cracker crumbs
12 Tablespoons melted butter
1/2 cup sugar
1/4 teaspoon salt
Preheat oven to 350 degrees, and generously butter the bottom and sides of a 9 inch spring form pan. Crush graham crackers to make crumbs, using a food processor or by hand (I just put mine in a large Ziploc bag between two towels and used a rolling pin.) In a large bowl, combine graham cracker crumbs, melted butter, sugar and salt until mixture is completely moist and crumbly. If it’s too dry, add additional melted butter a Tablespoon at a time until the mixture holds together when pressed into a ball.
Using your hands or the bottom of a glass, press the mixture into the bottom and up the sides of the spring form pan. Bake for 10 minutes, then remove from the oven to cool. Turn the oven off.
Cheesecake Ingredients:
5 (8-oz) packages cream cheese at room temperature
5 eggs plus 2 egg yolks at room temperature
2 teaspoons vanilla
1 and 3/4 cups sugar
1/8 cup all-purpose flour
1/4 cup heavy/whipping cream
6 oz dark or semi-sweet chocolate
6 oz white chocolate
- Chilling the cake for 24 hours is ideal, but overnight would be sufficient- just try to chill it as long as possible to allow the flavors to develop.
- Before you remove the cake from the pan, run a butter knife gently around the edge to prevent cracking.
- SLOWLY release the spring form pan, and use a knife to help it where necessary.
- While this recipe didn’t call for it, I put a shallow glass dish filled with about 1/2 inch of water on the bottom rack of the oven while baking the cheesecake. I’m told this helps prevent cracking.
- I didn’t cover the cheesecake immediately when it went in the oven, but after about 6 hours in the refrigerator I covered it with plastic wrap for the remaining time in the refrigerator.


5 Comments
Noelle
Lovely recipe!
dawn
This cheesecake looks great. I can totally relate to the love hate relationship with cheesecake. It took me almost 9 years with some good and bad cheesecakes, but I think I finally may have it figured out
Anonymous
Hi Erin, on the bottom of the receipe, “tips” you mentioned covering the cheesecake when it was in the oven….how long wdid you waitbefore you covered it and did you just use foil? Thankyou, Novice cook,Jane.
Erin @ Lemon Sugar
@Anonymous Hi Jane! I didn’t cover it while it was in the oven, I covered it while it was refrigerating after it was done baking. I just covered it to protect the texture of the surface. 🙂 Thanks for reading!!
Cindy Vien
Nice with two different chocolates, and looks great! Nice for a special occasion!